


Easy Ombre Nails Tutorial
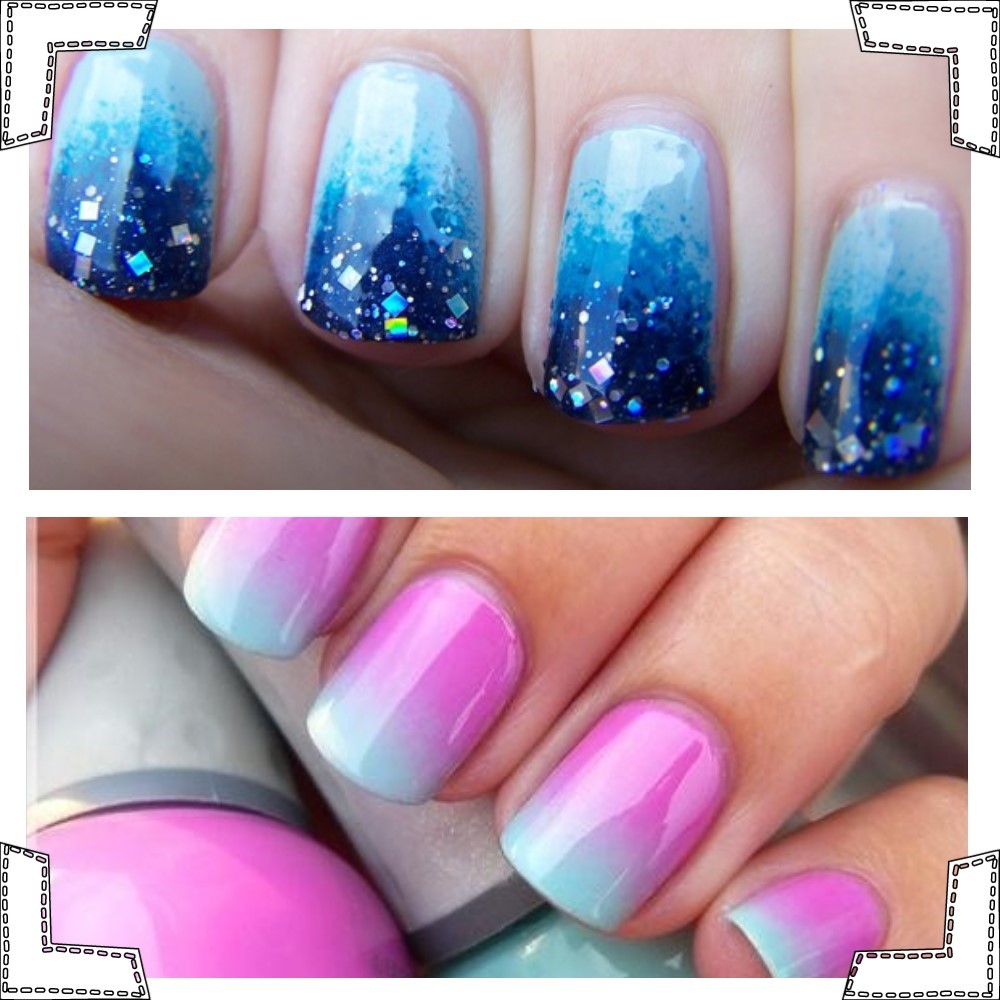
These gorgeous, blended-look nails are super trendy and so simple to recreate! Skip the salon and get the ombre nails look at home with this easy tutorial.
Materials:
Makeup sponge
White nail polish
Three coloured nail polishes
Acetone nail polish remover
Topcoat
Cotton swab for removing excess polish
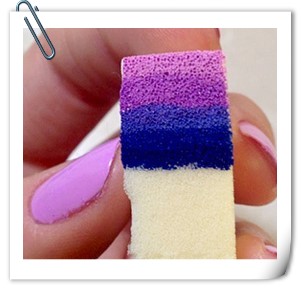
Start by trimming a makeup sponge to as close to the same size as your fingernails. It doesn’t have to be perfect, but it will help reduce having too much polish on your skin.
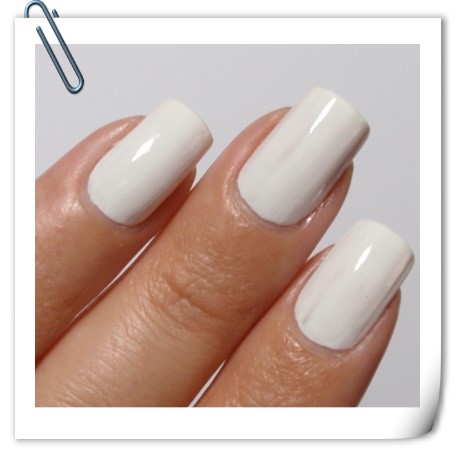
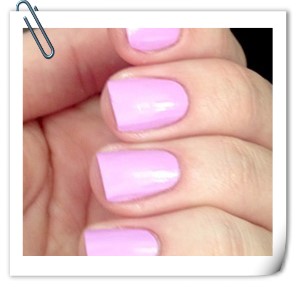
Paint every nail white for the base coat.
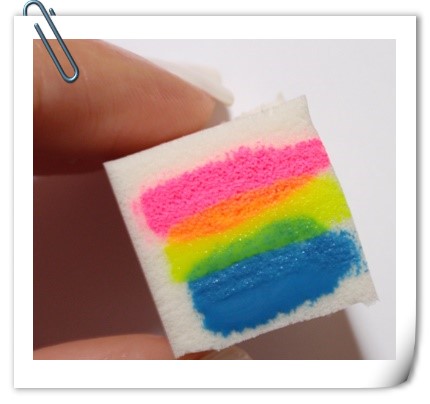
Once the base is dry, with two coats, paint the sponge with your coloured nail polish, making one stripe of colour for each polish. Cover one side of the sponge entirely, as this will be painting your nails.
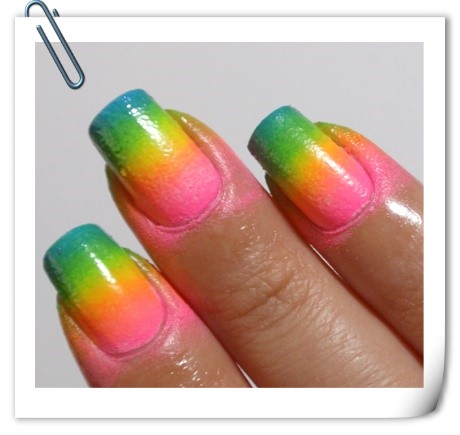
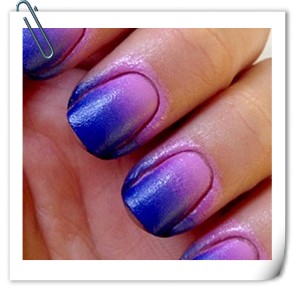
Line up the sponge with your nail, and dab it a few times to apply the polish. Repeat this process with every nail, adding more polish if necessary, and then repeat on ALL the nails so that they end up with at least two coats of the stripy mixture.
Your nails may look bumpy or rough, but that is okay. Add a layer of topcoat, which will smooth out the rough spots.
Use a cotton swab dipped in acetone to remove the excess polish from around your nails.
Here’s another variation…
Hit the town and show off your new manicure, and be sure to tell them where you learned how to do it!
Want to make your nails glow??? Check out how to do it here!

Join the conversation - Let us and your friends know what you think about it! 
Complimentary GIFT valued at $29 - Just for you!
10 amazing alcohol infused cupcake recipes
hurry up...- Enjoy these amazing boozy cupcakes at your next party!...
- Be quick - Limited time offer... Download free today!


Recent Posts
 The Most Awesome Gift Guide ...July 6, 2016Don’t be ‘that person’ who always buys the lame gifts ...
 Delicious Milk And Cookie ShotsOctober 21, 2015 How To Make Delicious Milk and Cookie Shots… ...
 Most arcade claw machines are ...September 1, 2015Most of us have tried our luck with these machines ...


![LimitlessXâ„¢ Cosmic Infinite Projector [2nd gen]](https://partysuppliesnow.com.au/products/tnails/pasted image 0_thumb.png)

Social Media
Follow us for Freebies, Big Discounts, Competitions & Unique Party Ideas Daily.